A Nevada overlanding vehicle can run out of carrying capacity before it runs out of storage space. Water containers, camping equipment, passengers, and permanent accessories all contribute to the weight of a packed SUV or pickup.
The Bureau of Land Management’s Nevada overlanding guidance recommends preparing for remote travel with extra fuel, tires, water, and food. Carrying those supplies requires a realistic understanding of what your particular vehicle can support.
Start the weight assessment before buying additional equipment. A setup that fits neatly into the cargo area may still exceed a vehicle or component limit.
Find the Ratings for Your Actual Vehicle
Use the labels on your vehicle and the owner’s manual for its exact model and configuration. An advertised maximum payload may describe a different version of the same truck.
Three figures deserve attention:
- Occupant and cargo capacity: The combined allowance shown on the Tire and Loading Information label.
- Gross Vehicle Weight Rating, or GVWR: The maximum permitted loaded weight of the vehicle.
- Gross Axle Weight Rating, or GAWR: The maximum permitted load on an individual axle system. Front and rear ratings can differ.
Photograph the labels so you can consult them while planning. If they are missing or unreadable, obtain vehicle-specific information from the manufacturer before relying on figures found online.
Build a Budget That Includes Installed Accessories
Begin with the occupant and cargo allowance, then account for equipment added after that allowance was established.
A replacement bumper, winch, drawer system, auxiliary battery, bed rack, or canopy can reduce the capacity available for people and supplies. Factory equipment already reflected in the vehicle’s stated capacity should not be deducted again. Check for any supplemental label showing a capacity reduction.
Here is a hypothetical planning example:
| Item | Weight |
|---|---|
| Stated occupant and cargo allowance | 1,300 lb |
| Driver and passengers | −420 lb |
| Added equipment not reflected in the label | −260 lb |
| Trip supplies, including water and containers | −510 lb |
| Remaining allowance | 110 lb |
These are illustrative figures, not a recommended loadout.
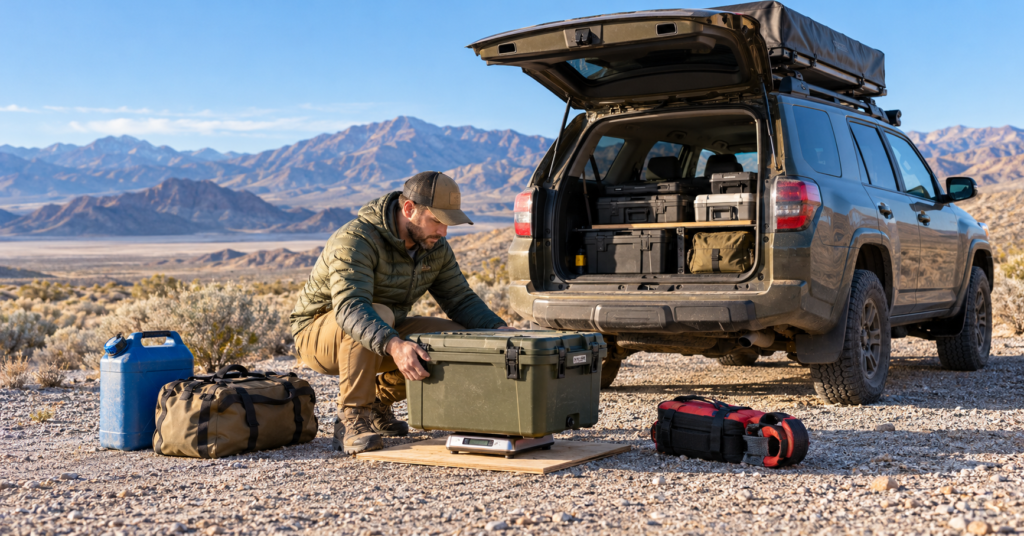
Use actual weights wherever practical. Weigh packed storage boxes, include the contents of the refrigerator, and count pets and their equipment. A list based only on empty bags and advertised product weights can miss substantial additions.
Calculate Water and Spare Fuel at Departure Weight
Water can become one of the heaviest individual supplies on a remote Nevada trip.
The U.S. Geological Survey gives an approximate weight of 8.34 pounds per U.S. gallon. Twenty gallons therefore weigh about 167 pounds before adding the containers, pump, or mounting hardware.
Measure what you intend to carry instead of describing it as “a few jugs.” Spare fuel and its containers also need a place in the calculation.
For a conventional SUV or pickup, the standard capacity calculation generally already accounts for a full factory fuel tank and necessary operating fluids. Avoid subtracting that same fuel twice when working from the original payload allowance. Extra fuel carried separately still adds weight.
If essential supplies push the vehicle beyond its limits, revise the trip length, resupply plan, or equipment selection. Do not solve the problem by removing necessary drinking water.
Separate Driving Roof Loads From Parked Loads
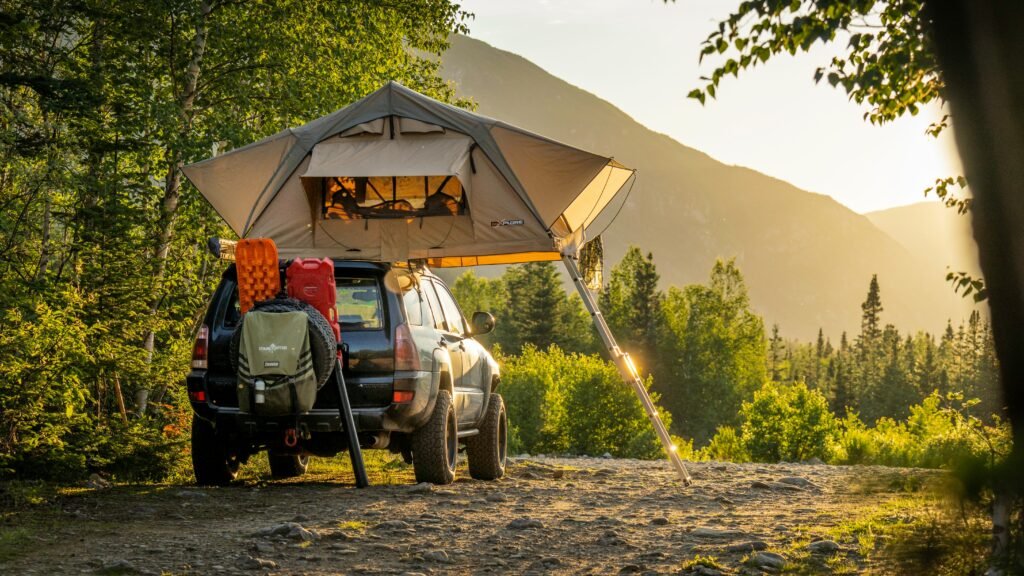
A rooftop tent requires its own assessment.
Check whether the vehicle manufacturer permits that installation, then review the limits for the roof, rails, crossbars, mounting system, and tent. A rack’s advertised capacity does not establish the capacity of the vehicle beneath it.
Where manufacturers specify separate ratings:
- Dynamic capacity applies while the vehicle is moving.
- Static capacity applies while stationary, subject to the stated conditions.
The driving calculation can include the crossbars, tent, mounting equipment, and anything stored inside the folded tent. The parked assessment also needs to account for occupants and bedding. Manufacturer instructions may require level ground and an evenly distributed load.
Follow the lowest applicable limit and any restrictions for off-road use. Never calculate an assumed parked capacity by multiplying the driving rating.
Weigh the Packed Vehicle and Each Axle
A public vehicle scale can reveal differences between your estimated load and the actual departure setup.
Before visiting, ask whether the facility accommodates your vehicle and can provide separate front- and rear-axle readings. Follow the operator’s positioning and occupant instructions.
Bring the vehicle in its intended travel configuration, including passengers, full planned supplies, installed accessories, and the normal departure fuel level.
Compare:
- The complete vehicle weight with its GVWR.
- The front-axle weight with the front GAWR.
- The rear-axle weight with the rear GAWR.
A total below GVWR does not prove that both axles are within their limits. NHTSA specifically explains the need for separate axle measurements when assessing loaded camper combinations.
If an axle is overloaded, changing cargo placement may help, but verify the result with another measurement. Keep the scale ticket with a record of what was aboard.
Include Trailer Tongue Weight When Towing
An overlanding trailer changes the towing vehicle’s load calculation.
The downward load at the hitch, commonly called tongue weight, uses part of the vehicle’s available carrying capacity. Passengers, cargo, and hitch equipment must still fit within the applicable limits. The trailer also introduces separate towing, hitch, axle, and combined-weight ratings.
Use the trailer’s loaded condition when evaluating the combination. An empty specification does not include the water, battery, food, and equipment added for the trip.
Ask the scale operator about the measurements needed for your towing arrangement. Do not move cargo arbitrarily toward the back of a trailer simply to reduce hitch load; follow the trailer and vehicle manufacturers’ loading instructions.
Confirm Tire Suitability and Cold Inflation Pressure
Tires need to match the vehicle and its intended load.
Use the vehicle’s Tire and Loading Information label and owner’s manual for the recommended cold inflation pressures. NHTSA defines cold tires as tires on a vehicle that has not been driven for at least three hours. The pressure molded on a tire’s sidewall is not automatically the correct operating pressure for your vehicle.
If the vehicle has a different tire size or type from its original equipment, obtain appropriate guidance for that combination before departure.
Higher-capacity replacement tires do not, by themselves, increase the vehicle’s GVWR or axle ratings. Treat tire suitability and vehicle carrying capacity as separate checks.
Secure Equipment Without Blocking Essential Access
A load that meets the weight limits still needs secure placement.
Use suitable restraints and attachment points for storage boxes, refrigerators, tools, and exterior equipment. NHTSA’s cargo-securement guidance recommends securing large objects directly to the vehicle or trailer and checking whether anything could escape or shift during a sudden stop.
Arrange the packing order around what you may need unexpectedly. First-aid supplies, tire-changing equipment, and emergency communication devices should remain accessible without unloading everything beside the road.
Finally, photograph the packed arrangement. That gives you a useful reference when rebuilding the same setup, while leaving a clear record of changes that may require a new weight calculation.
Note: Vehicle capacities and approved equipment combinations vary by model, configuration, and modifications. Follow the applicable manufacturer instructions and confirm uncertain loading details before departure.